Guide
How to measure windows for blinds without ordering the wrong size
For an inside mount, measure the clear opening width at the top, middle and bottom, and record all three; the narrowest width is the limiting one. Measure height at the left, centre and right, record all three, then follow the exact product's rule for which height to order. Measure the smallest usable depth at the planned headrail position and note handles, cranks, tile and trim. For an outside mount, choose the rectangle the finished blind must cover, confirm there is sound mounting space above and beside it, and order the finished size the supplier requests. Never copy a deduction from another brand or product.
9 min readUpdated
ByAlex KikLead installer & window covering specialist
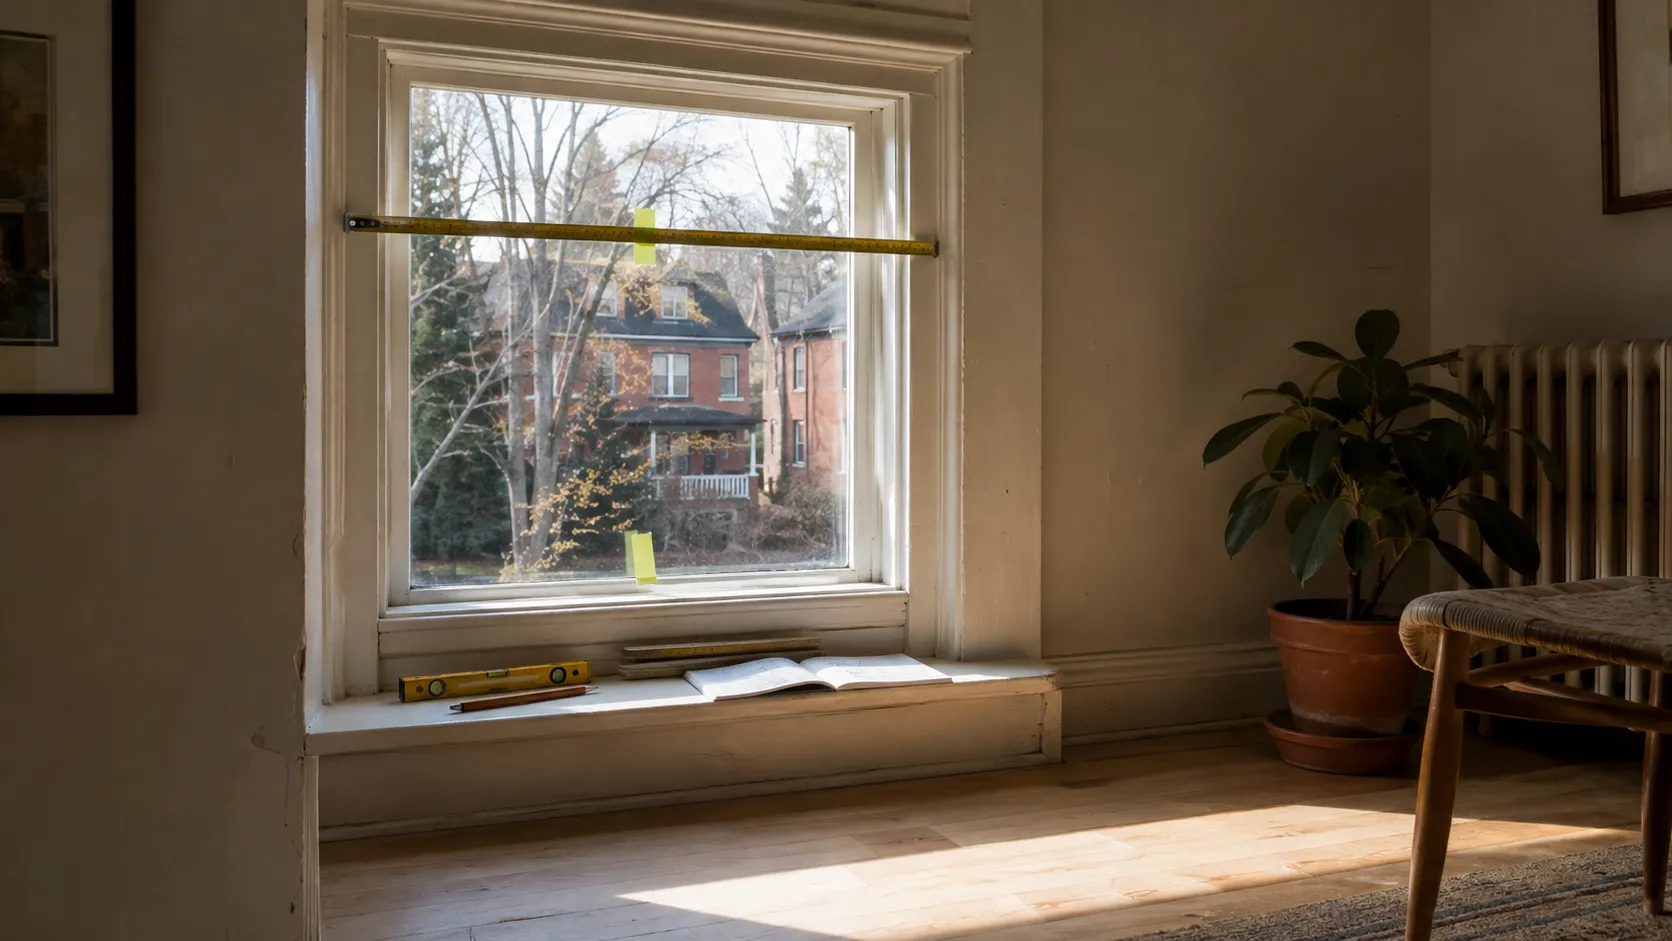
Decide inside or outside before the tape comes out
The first measurement is not a number. It is the sentence inside the reveal or over the opening. Until that is settled, width and height describe the wrong object.
An inside mount puts the blind and its brackets within the window opening. It leaves the casing visible, keeps the room line clean and often places the fabric close to the glass. It also inherits every irregularity in the reveal. The opening must be deep enough for the chosen headrail, narrow enough nowhere to pinch it, and clear of handles, locks and a sash that moves inward.
An outside mount attaches to wall, trim or ceiling and covers the opening from the room side. It can hide an opening that is badly out of square, add coverage around the edges and solve a reveal that is too shallow. It needs a sound fixing surface and enough room for the blind to clear projecting trim, handles and a sill. The finished blind, not the hole in the wall, is what you measure.
Neither mount is automatically better. Choose by the window and the result you need. If darkness matters, outside coverage can reduce edge light. If original wood casing is the room’s best detail, an inside mount can leave it untouched. If the blind sits on a patio door or tilt-and-turn sash, movement may decide the question before appearance gets a vote.
The small kit that prevents large mistakes
Use a rigid steel tape, a sharp pencil, removable painter’s tape, a small level and a worksheet. A cloth sewing tape can sag or twist; a phone measurement app is useful for a first estimate but not for a made-to-measure order. Use one unit throughout. In Canada, custom blind order forms commonly work in inches, so recording to the nearest one-eighth inch is practical when the product guide uses that precision.
Give every opening its own name before measuring: living room left, living room centre, bedroom east. Do not call three similar windows “same.” Measure each one. Replacement frames, plaster and trim can change by a small amount that matters to a headrail.
For every opening, record:
- intended mount: inside, outside, ceiling or undecided;
- width at top, middle and bottom;
- height at left, centre and right;
- usable depth at the intended bracket line;
- both diagonals if the opening looks out of square;
- frame and mounting-surface material;
- handles, cranks, locks, vents, tile and projecting trim;
- which parts of the window or door move, and toward which side;
- a straight-on photograph and one photograph from each side.
Keep those raw observations even after an order size is calculated. “Blind: 35 3/4” is a conclusion. “Opening: 35 7/8, 35 3/4, 35 13/16” is evidence you can check when a supplier asks a different question.
Inside mount: measure the opening, not the hope
Stand square to the window and hold the tape in the same plane where the headrail and fabric will travel. Do not follow a bowed sill with the tape and do not measure only the visible glass.
1. Take three widths
Measure jamb to jamb near the top, through the middle and near the bottom. Write all three numbers down immediately. The narrowest is the limiting width because an inside-mounted blind must clear the tightest part of the opening.
Do not subtract a quarter inch because a blog said so. Factories build different clearances into different products. Some order systems ask for an inside-mount opening size and make the deduction themselves. Others ask for an exact finished size. Putting an opening measurement into the second field, or making a deduction before using the first, can create the same wrong blind in opposite directions.
2. Take three heights
Measure from the inside head to the sill at the left, centre and right. Again, keep all three. This is where generic instructions become dangerous: some product guides call for the longest height, while others use the shortest. A roller that needs to cover a sill and a panel that must clear a floor do not ask the factory the same question.
Treat the three heights as the survey. Let the chosen product’s current order guide decide which becomes the order height. That extra line on the worksheet is cheaper than forcing one rule onto every mechanism.
3. Find the smallest usable depth
Depth is not simply wall face to glass. Measure at the exact height where the brackets will sit, from the front edge of the reveal to the first obstruction. Repeat on both sides. A window crank, alarm contact, tile return or handle can make the usable depth much smaller than the bare recess below it.
Product specifications normally distinguish minimum mounting depth from flush-mount depth. The first may hold the bracket while leaving a cassette or valance projecting into the room. The second allows the complete headrail to sit within the reveal. Know which result you are accepting.
4. Operate the window
Open, close, tilt and lock the sash while imagining the headrail in place. Turn the crank through a full cycle. A measurement can be numerically perfect and still put fabric in the path of a handle. Record the obstruction at both its resting and working position.
Outside mount: draw the finished rectangle first
For an outside mount, put small painter’s-tape marks where the finished blind’s top, bottom and sides should land. Step back. Check that the rectangle is centred on the opening, covers the edges you want hidden and does not collide with a thermostat, cabinet door, crown detail or adjacent window.
Then measure the rectangle itself.
Width runs from the chosen left finished edge to the chosen right finished edge. Coverage beyond the glass is intentional, but there is no honest universal overlap number. A blackout bedroom, a shallow roller and a blind landing on narrow casing have different constraints. Use the selected product’s guidance and the actual space beside the opening.
Height begins at the proposed headrail location, not automatically at the top of the trim. Measure to the sill, apron, floor or chosen stopping point. Add room above the opening for the complete bracket and headrail, not just for a screw.
Finally, inspect the mounting line. Painted drywall may hide a solid header; trim may be decorative rather than structural; concrete needs a different fixing from timber. Measuring the coverage without identifying what will carry the blind produces a size without an installation plan. The blind installation page explains why the wall material belongs on the same sheet as width and height.
Check square before a straight blind exposes it
Measure diagonally from the inside top-left corner to the inside bottom-right, then the opposite diagonal. Equal diagonals support the idea that the opening is square; a difference tells you it is a quadrilateral, even if the trim disguises it.
Do not turn that difference into a home-made correction. A straight headrail cannot be cut into a trapezoid. The choices are to size the inside mount so the moving parts clear the tight points, accept the resulting edge variation, or cover the opening with an outside mount. Product limits differ, so a visibly uneven opening deserves a sketch and the maker’s tolerance rather than an internet threshold borrowed from shutters.
A small level adds another piece of evidence. Check the head and sill, but do not assume the blind should follow either. An installer can set the headrail to a true line and pack a bracket where the building has settled. That keeps the bottom bar visually level instead of repeating the window’s slope.
Measure obstructions as volumes, not dots
A handle has width, depth and a path through space. So does a tilt sash. Mark the furthest point each moving part reaches toward the room and the height where it crosses the proposed blind.
The same applies to:
- lever handles on balcony and patio doors;
- casement cranks that rotate below the headrail;
- inward-opening or tilt windows;
- security sensors fixed near the top corners;
- deep tile backsplashes in kitchens;
- faucets, shelves and furniture close to the drop;
- baseboard heaters or floor vents below full-height fabric.
Photograph the tape beside an obstruction, then write the number. A photo alone has no scale; a number alone does not show what moves.
Bays, corners and walls of glass need a shared plan
A bay window is several blinds whose edges must meet in space. Measure every facet, but do not finalize each width independently. The headrail depth and bracket position decide where neighbouring blinds intersect, and changing from a roller to a wood blind changes that intersection. Choose the mechanism first, mark its front plane with tape, then resolve the meeting points.
Corner windows have the same problem with only two sides: one blind usually runs through while the other stops short. Which one wins should follow the important view and the direction from which the room is seen, not alphabetical order on a worksheet.
On a wall of glass, resist ordering one enormous blind just because the tape can span it. Mullions often give natural split points. Separate blinds can reduce operating weight, keep a door usable and let one part of the room close without darkening the rest. Record mullion centres and handle locations, but let the chosen system determine the final deductions and gaps.
A patio door adds traffic to the geometry. Measure the stationary glass and moving panel separately, note the handle at full projection and photograph the door both open and closed. A blind that covers the glass but blocks the daily route is not a successful fit.
A worksheet you can hand to somebody else
Use one row per opening and never erase the raw figures:
| Opening | Mount | Width T / M / B | Height L / C / R | Usable depth | Diagonals | Obstructions |
|---|---|---|---|---|---|---|
| Living left | Inside | ___ / ___ / ___ | ___ / ___ / ___ | ___ | ___ / ___ | ___ |
| Living centre | Inside | ___ / ___ / ___ | ___ / ___ / ___ | ___ | ___ / ___ | ___ |
| Bedroom east | Undecided | ___ / ___ / ___ | ___ / ___ / ___ | ___ | ___ / ___ | ___ |
Below each row, add the product, control side, fabric direction and order method: opening size or finished blind size. Those last words prevent the most expensive translation error in the process.
If several blinds share a sightline, add the finished headrail height measured from one common room reference, such as the floor. Matching three separate measurements to three separate sloping sills can make three correct blinds look wrong together.
Why reputable measuring guides appear to disagree
The disagreement is often real because the products are different. LEVOLOR’s blind and shade measuring brochure uses the narrowest of three inside widths and the longest of three heights. A Bali sliding-panel measuring guide uses the narrowest width and shortest height for that floor-clearing system. Both tell the customer not to invent the factory’s inside-mount deduction.
That is the useful lesson: measure the window completely, then apply the rule for the exact product. A universal guide can teach the survey. Only the current product sheet can convert it into a manufacturing size.
DIY measurement or a free site measure?
Measure it yourself when the opening is a simple rectangle, the chosen product has clear current instructions, the mounting surface is obvious and you are comfortable owning the order dimensions. Keep the worksheet and photographs until the blind is fitted.
Use a professional measure when the opening is visibly out of square, the frame is shallow, a crank or door moves through the drop, several blinds must align, or the product choice is not settled. These are not impossible DIY jobs. They are jobs where the dimensions depend on a decision, and the decision is easier to make while looking at the actual brackets and samples.
Blinds Company provides a free in-home measure across Toronto and the GTA. The same crew measures and installs what it supplies, and the installation date is confirmed in writing at the quote. If you are still choosing the mechanism, start with the types of blinds guide; if the mechanism is chosen but the opening needs an explanation, bring the worksheet and photographs to the visit.
Questions
Still asked
Do I measure the glass or the window opening for blinds?
For an inside mount, measure the clear opening where the blind will physically sit — jamb to jamb and head to sill — not the visible glass. For an outside mount, measure the full area the finished blind must cover, which may extend onto trim or wall. In both cases, the tape follows the mounting plane rather than whichever edge is easiest to reach.
Should I subtract anything from an inside-mount width?
Usually no. Many made-to-measure suppliers ask for the exact opening and apply their own clearance deduction, which varies with the headrail and control system. Some order forms instead request a finished blind size. Those are not interchangeable. Keep the raw opening measurements and make a deduction only when the exact product instructions say to.
Why do I need three width measurements?
Because a window can be narrower at the top, middle or bottom even when it looks square. An inside-mounted headrail must pass the tightest point, so one convenient measurement can produce a blind that binds or never enters the reveal. Three measurements reveal the shape; the narrowest width sets the physical limit.
Do I use the shortest or longest height for inside-mount blinds?
Record the left, centre and right heights before choosing. Manufacturers do not all use the same rule: it can change by mechanism and by whether a product must reach a sill, clear a floor or stack evenly. The safe answer is the height rule in the instructions for the exact product being ordered, not a universal shortcut copied from another guide.
How deep must a window be for an inside mount?
There is no single depth for every blind. A plain roller, a cassette, a wood blind and a motorized headrail occupy different amounts of space. Measure the shallowest usable depth at the intended bracket line, including handles and cranks, then compare it with that product's minimum and flush- mount depth. If the mechanism projects, decide whether that appearance and clearance are acceptable before ordering.
When should I have a professional measure instead?
Use a professional survey when the reveal is visibly out of square, two blinds must meet in a bay or corner, a door or tilt sash can hit the blind, the mounting surface is uncertain, or one opening will carry several synchronized shades. A simple square opening with a clearly specified product is reasonable to measure yourself; geometry that needs a sketch is where a free site measure earns its keep.
About this guide
Alex Kik, Blinds Company's Lead installer & window covering specialist, writes from the same questions encountered while measuring and fitting Toronto and GTA homes. Each guide names the trade-offs that can be defended at the window and leaves out prices, ratings and credentials that have not been confirmed.
The product this one is about: Blind installation
A clean worksheet is enough for a simple rectangle. If the window needs an explanation beside its numbers, it is ready for an installer, not checkout.
Book
Let's measure your light.
We come to you, measure at your own windows, and go through fabrics and fits together. The visit costs nothing.
$99 off when you order three or more blindsApplied to your written quote at the measure.
Rather just talk?(437) 782-5452Open 8am–9pm, 7 days